Setting up Laravel Development Environment: Step-by-Step Guide on Installing Laravel


Introduction
Welcome back to another episode of our Building with Laravel for Beginners series! In our previous episode, we provided an introduction to Laravel, highlighting its features, benefits, and its role in web development. Today, we will take a deep dive into setting up the development environment for Laravel. By the end of this episode, you will have a step-by-step guide on installing Laravel, Composer, and other necessary tools to create a local development environment. So, let's get started!
Prerequisites
Before we begin, make sure you have the following prerequisites in place:
PHP: Make sure you have PHP installed on your machine. You can download the latest version of PHP from the official website (php.net/downloads.php) and follow the installation instructions for your operating system.
Composer: Composer is a dependency management tool for PHP that helps in installing and managing packages. If you haven't installed Composer yet, you can download it from the official website (getcomposer.org/download) and follow the installation instructions.
Database: You'll need a database system to store your application's data. You can choose from popular options like MySQL, PostgreSQL, or SQLite. Install and configure the database of your choice before proceeding.
Setting up the Development Environment
Now, let's dive into the step-by-step guide to setting up your development environment for Laravel:
Step 1: Installing Laravel
To install Laravel, we have two options. You can choose either of the following methods:
Option A: Using Laravel Installer (Recommended)
Open your terminal or command prompt.
Run the following command to install the Laravel installer package globally
composer global require laravel/installer
This command will download and install the Laravel installer package, making it available globally on your system.
The next thing is to create a New Laravel Project. Once Laravel is installed, you can create a new Laravel project with a single command. Follow these steps:
Navigate to the directory where you want to create your project.
Run the following command to create a new Laravel project:
laravel new project-name
Replace "project-name" with the desired name for your project. This command will create a new Laravel project in a directory with the specified name.
Option B: Using Composer Create-Project
Open your terminal or command prompt.
Run the following command to create a new Laravel project directly using Composer:
composer create-project --prefer-dist laravel/laravel project-name
Replace "project-name" with the desired name for your project. This command will download and install a fresh Laravel installation in a directory with the specified name.
Step 2: Setting Up the Development Environment
Now that you have Laravel installed, let's set up the development environment. Here's what you need to do:
- Navigate to the project directory
cd project-name
- Copy the ".env.example" file and rename it to ".env" using the following command
cp .env.example .env
- Generate the application key by running the following command:
php artisan key:generate
This command will generate a unique application key that is used to secure your application.
Configure your database by updating the "DB_" variables in the ".env" file. Specify the database name, username, password, and other relevant details.
Migrate the database by running the following command
php artisan migrate
This command will create the necessary database tables required for your application.
Step 3: Running the Development Server
To run the development server, follow these steps:
In your terminal or command prompt, navigate to the project directory if you're not already there.
Run the following command to start the development server:
php artisan serve
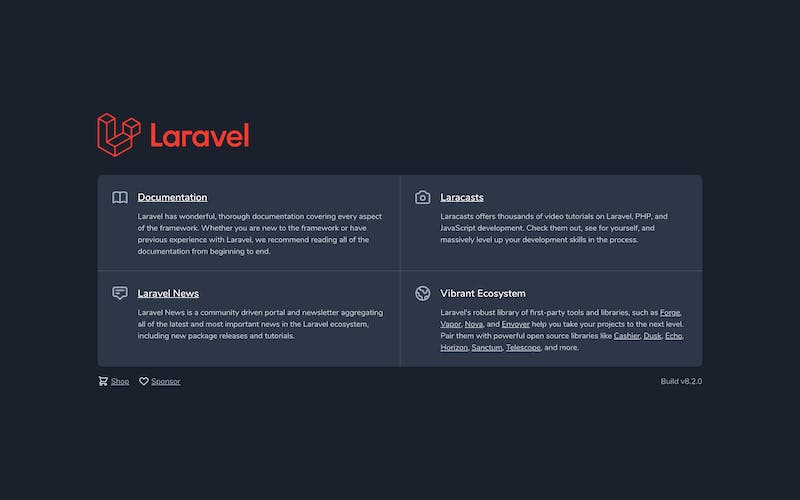
Once the server is up and running, you can access your Laravel application by opening your web browser and visiting localhost:8000 you will see the below screen.
Conclusion
In today's episode, we explored the process of setting up the development environment for Laravel. We walked through a step-by-step guide on installing Laravel, Composer, and other necessary tools to create a local development environment. Now, you have a solid foundation to start building your Laravel applications. In the next episode, we will be looking at "Laravel Folder Structure"
If you found this series helpful and want to support our series, there are a few things you can do:
Share the knowledge: Spread the word about this tutorial series to your friends, colleagues, or anyone who might be interested in learning Laravel. The more people we can reach, the more we can help aspiring developers.
Engage with us: Leave comments on our blog posts or YouTube videos, asking questions or providing feedback. Your engagement helps us understand your needs better and deliver content that addresses your concerns.
Donate: If you find value in our tutorials and would like to contribute financially, you can consider making a donation. Your support allows me to continue producing quality content and improving the learning experience for our audience.
Subscribe and follow: Subscribe to our blog or YouTube channel I plan on also doing video content soon. Also follow me on social media to stay updated with the latest episodes, tutorials, and announcements. By staying connected, you'll never miss an opportunity to enhance your Laravel skills.
Thank you for being a part of my Laravel series. Your support and engagement mean the world to me. Together, let's make the journey of learning Laravel an exciting and fulfilling experience. See you in our next episode.
Happy coding!